Understanding the Pixels
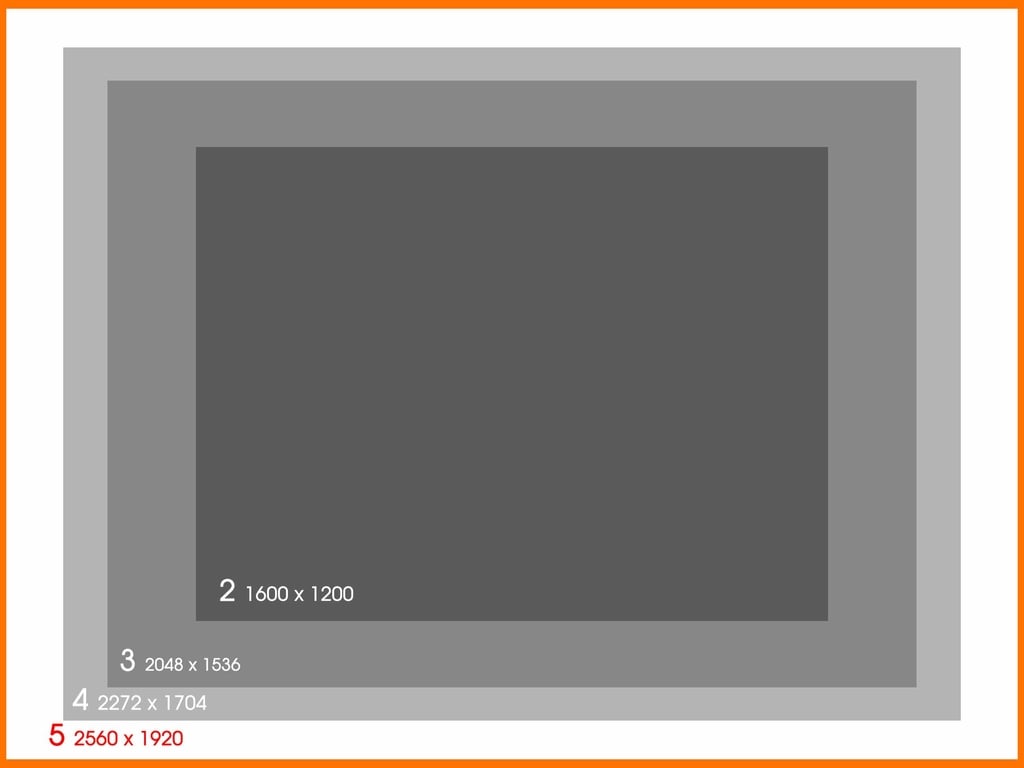
In videography, the most common options for resolutions are 240p, 480p, 720p, and 1080p. The “p” at the end stands for “pixel” and refers to the resolution that the device or camera can capture. The higher the pixel-age, the better the quality. Unlike photography, where megapixels aren’t necessarily appreciated past a certain degree (like 12-15 megapixels) unless the photo is blown up or highly processed, video resolution changes are more apparent. The resolution of a 720p and 1080p video is noticeably different from a 480p video. This is important to consider if you are looking into using your smartphone for specific cinematographic purposes.
Why Lighting Counts
Have you ever wondered why your phone is horrible with handling light? Your subject may look overly saturated (too much light) or inaccurately darker on camera. This all deals with your phone camera’s aperture size. Aperture translates to how much light your lens lets in: the larger the aperture, the more light is let in, which equals an improved image quality. Since our cameras are small on our phones, their lens are small as well, which means that not as much light is let in—we have to adjust and consider adding our own lighting when making use of our phone’s video capabilities. You don’t have to have studio lighting on hand: achieving good lighting on the fly involves making use of sunlight correctly with outdoor video and knowing when to use lamps while indoors. Flash is something that should be used as a last resort: flashes often give off a florescent light, which is what washes out the skin of your subject in a video. Plus, when used continuously when shooting a video, it can kill your battery life. Use flash only when you’re in a place of very little to no lighting.
Go to Your Subject
In videography, your main concern is to ensure that quality is maintained to prevent the quality from decreasing even more post-production. One surefire way to reduce your video quality is by using zoom. Unlike a DSLR camera, where you have a detachable, zoom lens that adjusts like a microscope (optical zoom), the zoom on most camera phones simply magnify the image at hand (digital zoom). This leads to pixelation—a reduction in video quality. Instead of zooming in, you should go to the subject you are attempting to focus on. While I was in Costa Rica this spring, when I wanted to take a video of a Macaw, I found placing my iPhone lens in front of binoculars allowed the binocular lens to act as the perfect form of zoom without manipulating the quality. This may be a great idea to look into if you must take a video of a subject that’s far away.
iPhone Hacks
Your iPhone camera comes with features on board that can help you ensure that your videos come out clear and organized. The first iPhone trick is the ability to lock the autofocus and white balance in your video. This is helpful if your subject is stationary, for example in an interview or to shoot macro video shots. To lock in autofocus and white balance, simply press and hold on the screen on the subject at hand. Do this until the bottom of the camera screen says AF/WB Lock. If you have the iPhone 5, you are able to take photos while making a video. Simply click the camera button at the upper right hand corner of the screen while the iPhone is recording. The third trick for video capture on iPhone is the ability to trim your video after recording. To do so, simply click either end of the top of the screen that shows the video progression. You’ll then see it turn yellow, allowing you to shorten the clip as much or as little as possible. While these hacks are cool and all, you may be looking for a bit more. No worries, we have four apps that offer extra features.
Your Mobile Camera Bag
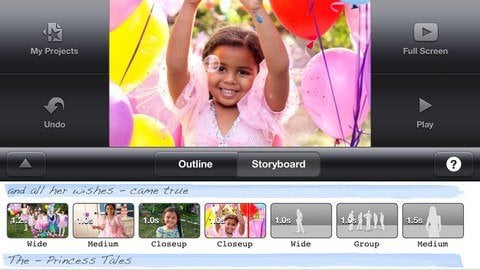
Below are three applications that are very helpful with video editing, transformation, and sharing. iMovie – If you are looking to go above and beyond what your iPhone can do with video out of the box, iMovie is the safe choice to go with while still sticking with Apple-made programs. iMovie, working in a similar way with the desktop version, for iOS allows you to piece together multiple clips, add audio, templates, and more. This is all possible without even touching a computer. Plus, the ability to send to YouTube and other sharing websites makes for $4.99 price tag easy to swallow.
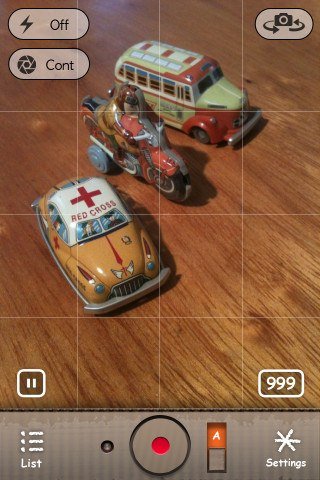
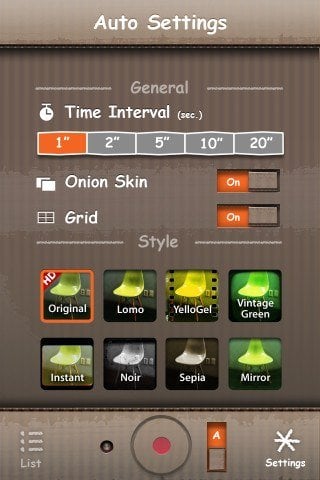
StopMotion Recorder – StopMotion is when you make use of photographs to piece together a movie clip. StopMotion Recorder makes this easy to do while on the go. You can make use of audio, time-interval automatic shooting, add styles, adjust frame speed, and even take advantage of the app’s sharing options. $0.99.
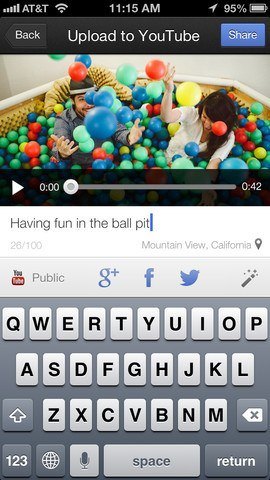
YouTube Capture – YouTube is the one-stop shop for just about any hot video on YouTube. Hundreds and thousands of video creators go onto YouTube to show off their talents, with millions of videos created from various formats. YouTube Capture allows you to easily get your video out while on the go. Plus, this offers an uploading option and customizability that isn’t available with iOS 6. Your smartphone can unleash multiple ways in which you can make your videos turn into cinematic masterpieces. While you won’t have the features that come with DSLRs, like manual focusing and scene selections, the iPhone and other mobile devices are moving toward a trend where the quality isn’t too far from larger cameras. Since 2011, as seen with movies like Olive and The Swarm, Hollywood is catching on to this mobile trend. Let us know in the comments below on how you’ve been able to transform how you capture video while on the go.
